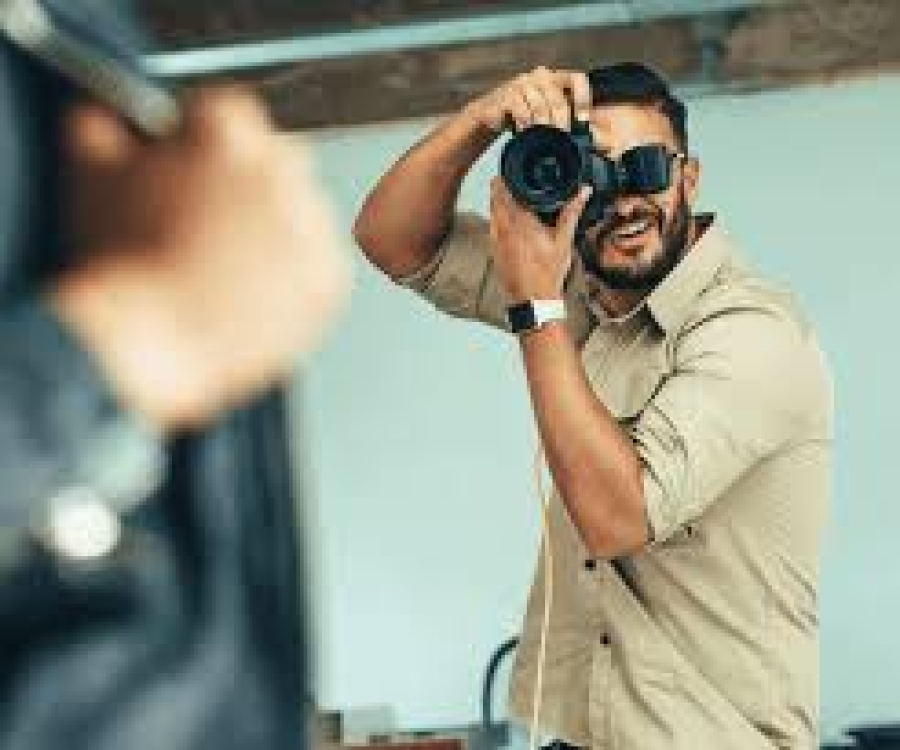
How to Build a Photo Studio at Home
With the rising demand for high-quality visuals in eCommerce, social media, and digital content creation, more freelancers are turning their homes into professional photo studios. Whether you're a product photographer, content creator, or portrait artist, building a home studio can save costs, boost your efficiency, and open up new revenue streams.
At FreelancerBridge, we help creative professionals thrive by providing practical, scalable solutions. In this guide, you’ll learn exactly how to set up a fully functional photo studio at home — from essential equipment and space planning to lighting techniques and organization tips — all designed for freelance success.
Long Description: How to Build a Photo Studio at Home
1. Why Build a Home Photo Studio?
Before jumping into the gear, it's important to understand the benefits of building a studio at home:
Cost-effective: Save on rent and studio fees
Convenient: Work on your schedule
Customizable: Tailor the setup to your photography style
Professionalism: Deliver consistent, high-quality work to clients
Scalable: Start small and expand as you grow
Whether you're working with models, flat lays, products, or still life, having your own setup allows complete control over lighting, styling, and timing.
2. Choosing the Right Space in Your Home
The first step is selecting a suitable room or area for your studio.
Ideal features:
Natural light (a large window is a plus)
Minimal furniture or clutter
Neutral-colored walls
Enough room for backdrop and subject (at least 10x12 ft preferred)
Great options include:
Spare bedrooms
Living rooms with movable furniture
Garage or basement with good lighting
Enclosed balcony or sunroom
Even small spaces can work well if optimized smartly with portable tools.
3. Essential Equipment for a Home Photo Studio
Starting a home studio doesn't require the most expensive gear. Here's a list of essentials:
A. Camera and Lens
DSLR or mirrorless camera (manual controls recommended)
Lenses:
50mm for portraits and general use
Macro lens for close-up or product shots
Wide-angle lens for room or set photography
B. Tripod
Adjustable tripod with a quick-release plate
Helps maintain sharpness, especially in low-light or product setups
C. Lighting
Two or more softbox lights or LED panel lights
Ring light for evenly lit portraits
Reflectors (white, silver, gold) to bounce or diffuse light
Optional: Natural light setup using sheer curtains to soften daylight
D. Backgrounds
Seamless paper rolls (white, black, gray, or brand colors)
Portable background stands
Fabric or collapsible backgrounds for variety
E. Light Modifiers
Diffusers to soften harsh light
Umbrellas or beauty dishes for portraits
Grid or barn doors to control light direction
F. Tethering Tools (Optional)
Tether cable or wireless setup to view shots live on your laptop
G. Surface Props & Styling Tools
Acrylic bases
Wooden boards
Lifestyle props (plants, fabric, desk items)
Start with the basics, then upgrade based on your niche and style.
4. Lighting Setup for Home Photography
Good lighting is the backbone of quality photography.
Basic studio lighting setup:
Key Light: Your main light source, placed at a 45° angle
Fill Light: Fills shadows on the opposite side
Background Light (optional): Adds depth by lighting up the backdrop
Reflectors: Useful to bounce light into shadows
If you're working with natural light:
Set up near a large window
Use white curtains or reflectors to diffuse light
Shoot during the day when light is soft and consistent
Adjust lighting based on the subject — portraits need soft and flattering light, while product shots require even and shadow-free setups.
5. Setting Up a Flexible Backdrop System
Backdrops help you create a clean, professional background without needing to edit much later.
Backdrop ideas:
Paper rolls: Smooth and disposable, ideal for eCommerce
Fabric backdrops: Reusable and portable
Foam boards or tiles: For flat lays and product scenes
Walls: Neutral-painted walls can work well for lifestyle photography
Use a backdrop stand or clamps to hang backgrounds. Always ensure the backdrop reaches the floor for full-length shots.
6. Organizing Your Space Efficiently
Keeping your home studio clean and organized saves time and improves your workflow.
Tips:
Use rolling carts or bins for storing gear
Label all cables, batteries, and accessories
Hang backdrops on wall hooks or curtain rods
Dedicate shelves to props and styling items
Use foldable furniture to free space after shoots
A clean studio = smoother shoots and faster client delivery.
7. Editing and Post-Processing Setup
After the shoot, editing your photos professionally is key.
Editing tools:
A calibrated monitor
Editing software like Adobe Lightroom and Photoshop
Backup drives or cloud storage for safekeeping
Preset packs for consistent color grading
Your editing station doesn’t need a separate room, just a quiet desk area with minimal distractions.
8. Safety, Power, and Connectivity
Don’t overlook practical elements:
Surge protectors to prevent power damage
Extension cords for flexible equipment placement
Cable ties to manage wires safely
Wi-Fi or tethering tools for live previews
Room ventilation if using strong lights for long hours
Being prepared technically avoids disruptions during client work.
9. Building a Test Shoot Portfolio at Home
Once your home studio is ready, start creating test content.
What to shoot:
Product mockups (cosmetics, accessories, electronics)
Portraits of friends or yourself
Flat lay scenes
Creative concepts like color blocks or shadows
Document your setup behind the scenes. This not only builds your portfolio but also helps attract clients by showing your process.
10. Attracting Clients With Your Home Studio
Once your studio is active, promote it to attract freelance gigs.
Client outreach tips:
List “in-house studio” in your portfolio and website
Share BTS and time-lapse videos on social media
Partner with small businesses for initial shoots
Offer discounted sessions to test and learn
Network with influencers, stylists, or marketers
Let clients know they can save on rental costs by working with a photographer who has a home studio.
Conclusion: Turn Your Home Into a Profitable Studio
Creating a home photo studio allows freelancers to deliver professional results with the freedom of working from their own space. With a strategic setup, essential gear, and consistent lighting, you can produce studio-grade images for a wide range of clients.
At FreelancerBridge, we’re focused on helping creative freelancers unlock new income streams and improve their production value. If you're ready to elevate your photography business, building a home studio is one of the smartest investments you can make.


 by Emily


