 by Emily
Tips for Photographing Real Estate as a Freelancer
Real estate photography has become one of the most in-demand freelance niches, especially with the rise of online property listings. Whether you’re working with agents, property managers, Airbnb hosts, or developers, high-quality visuals are critical in driving buyer interest and maximizing property appeal.
As a freelance photographer, entering the real estate market offers a steady income stream and opportunities to build a visually impressive portfolio. At FreelancerBridge, we empower independent creatives with practical, scalable strategies. This guide provides you with essential tips for photographing real estate professionally — including gear, techniques, composition rules, and client strategies to grow your business.
Long Description: Tips for Photographing Real Estate as a Freelancer
1. Understand the Role of Real Estate Photography
Real estate photography goes beyond simply documenting a home. It is about capturing the space’s size, mood, and functionality while making it feel bright, welcoming, and spacious.
Clients include:
Realtors and real estate agencies
Vacation rental owners (e.g., Airbnb, Vrbo)
Architects and interior designers
Property developers and home stagers
Each type of client may require different styles — lifestyle, architectural, minimalistic, or editorial — so being flexible in your approach is key.
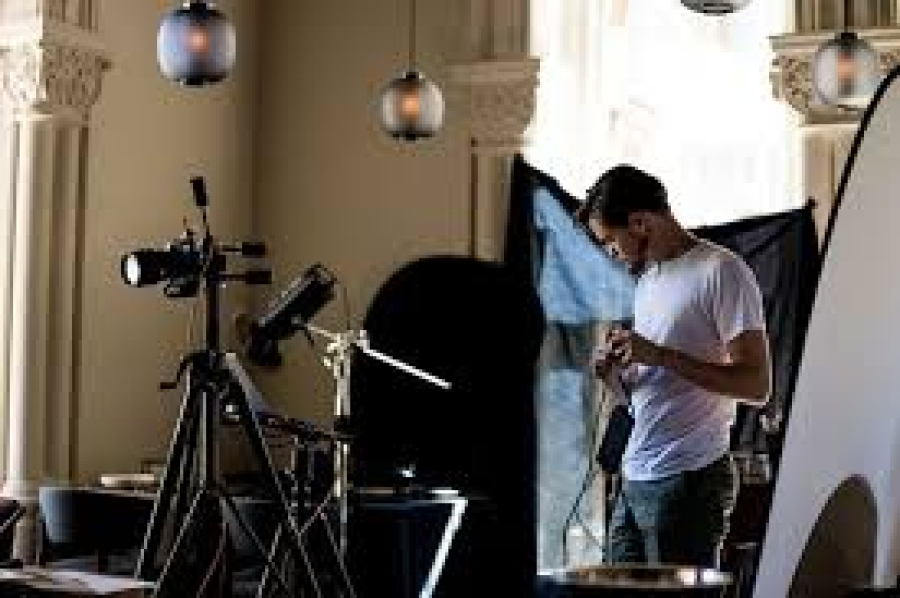
2. Use the Right Gear for Sharp, Wide-Angle Shots
Real estate photography relies heavily on clarity and accurate spatial representation.
Essential equipment includes:
DSLR or mirrorless camera with manual control
Wide-angle lens (14mm to 24mm range) to capture full rooms
Tripod for stability, especially in low-light interiors
Remote shutter release to prevent camera shake
Flash or strobe lighting (optional but useful for dim spaces)
Lens hood and microfiber cloth for glare and reflections
Shooting in RAW is recommended for maximum flexibility during post-processing.
3. Plan the Shoot Time Carefully
Lighting is critical in real estate photography. When scheduling a shoot, consider:
Best time: Late morning or early afternoon for natural daylight
Avoid harsh sunlight that creates shadows through windows
For exterior shots, aim for golden hour or slightly overcast skies
For twilight or “blue hour” photography, bring a tripod and shoot in RAW for stunning ambient shots
Check the weather forecast in advance and prepare for rescheduling in case of poor conditions.
4. Declutter and Stage the Space Before Shooting
A tidy, styled space looks more appealing in photos. While you’re not expected to be a full-time stager, you can:
Ask the client to clean and declutter beforehand
Remove personal items like toothbrushes, clothes, and trash bins
Straighten cushions, curtains, and bedsheets
Add lifestyle props (e.g., coffee table books, vases, throw blankets) for warmth
Turn on all lights to add brightness and balance
Make a checklist of room-by-room adjustments for consistency.
5. Use Proper Camera Settings for Balanced Exposure
Interior photography often involves contrasting light sources (window light vs room lighting). You need control over exposure to prevent blown-out highlights or dark corners.
Recommended settings:
ISO: 100–400 (keep low to avoid noise)
Aperture: f/8 to f/11 (for depth of field and sharpness)
Shutter Speed: 1/60 or slower (use tripod)
White Balance: Adjust to room lighting or daylight mix
Manual Mode: Gives full control and consistency across shots
You may also bracket exposures for HDR editing later.
6. Compose Wide and Symmetrical Shots
Real estate photos should show as much of the room as possible without distortion.
Framing tips:
Use a wide-angle lens, but avoid fisheye effects
Shoot from chest or shoulder height — not too high or low
Use gridlines to keep horizontal and vertical lines straight
Position yourself in corners to maximize depth
Capture 2–3 angles per room (especially kitchen, living room, bedrooms)
Always keep verticals vertical — clients notice crooked walls.
7. Don’t Forget Key Details and Features
While wide shots sell the space, detail shots add character. Capture:
Architectural elements (crown molding, staircases, arches)
Hardware and finishes (faucets, handles, countertops)
Lifestyle touches (fireplaces, decor, lighting fixtures)
Outdoor areas (balconies, gardens, patios)
These detail shots are especially important for higher-end listings or design-focused properties.
8. Use Natural Light, but Supplement When Needed
Natural light offers a true-to-life feel, but not all interiors have ideal lighting.
If needed:
Use a flash bounced off the ceiling or wall
Use continuous LED lights for extra brightness
Use reflectors to open up shadows
Don’t mix lighting temperatures — try to use daylight or turn off warm indoor lights when possible
You can also shoot bracketed exposures and blend them using HDR techniques to balance window light with interior light.
9. Edit Professionally Without Overdoing It
Post-processing is where you enhance images while keeping them realistic.
Key edits in Lightroom or Photoshop:
Adjust white balance and exposure
Correct verticals and horizontal lines (use Transform tools)
Brighten shadows, recover highlights
Remove color casts from mixed lighting
Retouch minor blemishes (power cords, stains, dust)
Apply lens correction to remove distortion
Avoid extreme saturation or unnatural skies — clients expect realism, not filters.
10. Organize and Deliver Images Professionally
Once edited, present your images in a way that impresses clients.
Tips:
Name files clearly (e.g., “Kitchen_View1.jpg”)
Export at high resolution (300 dpi for print, 72 dpi for web)
Offer both full-size and web-optimized versions
Deliver via Google Drive, Dropbox, or a private gallery
Include a usage license (especially for commercial developers or agencies)
Timely, organized delivery builds trust and gets you repeat work.
11. Price Your Real Estate Photography Services
Pricing depends on location, shoot complexity, property size, and deliverables.
Common models:
Flat rate based on property size (e.g., 1BHK, 3BHK, villa)
Hourly rate (great for high-volume work)
Add-ons (twilight photography, drone, floor plans, video walkthroughs)
Offer value packages for recurring clients or real estate firms.
12. Build a Real Estate Photography Portfolio
Prospective clients want to see that you’ve worked on real properties. Even if you’re new, start with:
Friends’ or relatives’ homes
Rental properties or model homes
Airbnbs (offer free or discounted sessions for testimonials)
Collaborate with interior designers or stagers
Organize your work by room type or listing type, and include testimonials where possible.
13. Market Your Services to the Right Clients
Real estate agents and property owners are constantly looking for photographers. To get noticed:
List on Google My Business and real estate directories
Join local real estate Facebook groups or forums
Connect with agents on LinkedIn
Run Instagram ads targeting real estate professionals
Showcase behind-the-scenes content and before/after shots on your website and social platforms
Professional presentation is everything — have a media kit and rate sheet ready to share.
Conclusion: Build a Thriving Freelance Career in Real Estate Photography
Photographing real estate as a freelancer is a powerful way to grow your photography business while serving a high-demand market. With the right gear, technical knowledge, and a polished workflow, you can deliver stunning visuals that help properties sell faster and boost your own reputation as a go-to photographer.
At FreelancerBridge, we’re committed to helping freelance creatives build profitable, scalable businesses. Whether you’re just starting or looking to specialize further, applying these real estate photography tips will set you apart and attract consistent, professional clients.


