What is WordPress Multisite and How to Set It Up?
WordPress Multisite is a powerful feature that allows you to create and manage multiple websites from a single WordPress installation. Whether you want to run a network of blogs, business websites, or client projects, WordPress Multisite provides a convenient way to handle them all in one place.
In this guide, we will explain what WordPress Multisite is, its benefits, and how to set it up step-by-step. By the end of this tutorial, you’ll be able to create and manage multiple WordPress sites efficiently.
What is WordPress Multisite?
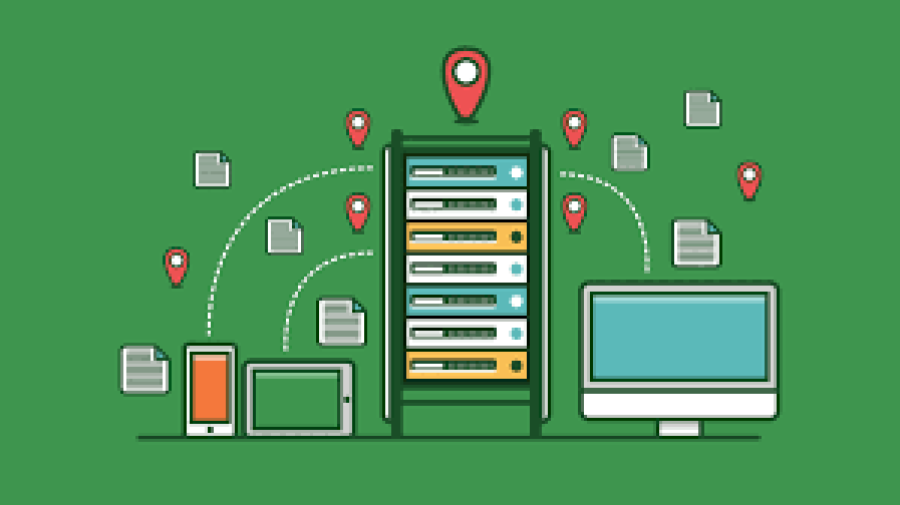
WordPress Multisite is a built-in feature that allows you to create a network of multiple websites under one WordPress installation. Instead of installing WordPress separately for each site, you can manage all sites from a single dashboard.
🔹 Key Features of WordPress Multisite:
✅ Manage multiple sites from one dashboard
✅ Allow different users to run their own sites
✅ Share themes and plugins across the network
✅ Use subdomains (site1.yourdomain.com) or subdirectories (yourdomain.com/site1)
✅ Assign different levels of user permissions
💡 Who Should Use WordPress Multisite?
Businesses with multiple brand websites
Schools, universities, or organizations managing different departments
Bloggers managing multiple niche websites
Developers building client websites under one network
Pros and Cons of Using WordPress Multisite
✅ Advantages
✔ Centralized Management: Control all websites from one WordPress dashboard.
✔ Shared Resources: Plugins and themes are installed once and used across all sites.
✔ User Role Management: Assign different admins for each site while maintaining overall control.
✔ Efficient Updates: Update WordPress, plugins, and themes for all sites at once.
❌ Disadvantages
✖ Plugin Compatibility: Not all WordPress plugins work well with Multisite.
✖ Server Resources: Multisite requires more hosting power than a single WordPress site.
✖ Difficult Migration: Moving one site out of a Multisite network is complex.
How to Set Up WordPress Multisite? (Step-by-Step Guide)
Step 1: Choose the Right Hosting
Since Multisite requires more resources, choosing a reliable hosting provider is essential.
✅ Best Hosting for WordPress Multisite:
SiteGround (Affordable & Fast)
Kinsta (Premium Cloud Hosting)
Bluehost (Budget-Friendly)
WP Engine (Best for Enterprise)
💡 Pro Tip: Look for VPS, cloud, or dedicated hosting instead of shared hosting for better performance.
Step 2: Enable Multisite in WordPress
1️⃣ Open your wp-config.php file in the WordPress root folder.
2️⃣ Add the following line above "That's all, stop editing!":
php
Copy
Edit
define('WP_ALLOW_MULTISITE', true);
3️⃣ Save the file and refresh your WordPress dashboard.
Step 3: Set Up Your Multisite Network
1️⃣ Go to Tools > Network Setup in your WordPress dashboard.
2️⃣ Choose between Subdomains (site1.yourdomain.com) or Subdirectories (yourdomain.com/site1).
3️⃣ Enter your network title and admin email.
4️⃣ Click Install and follow the instructions.
Step 4: Configure Network Settings
After installation, WordPress will provide two code snippets:
🔹 One for wp-config.php
🔹 One for .htaccess
📌 Copy and paste these codes into their respective files and save them.
💡 Pro Tip: Log out and log back in to access the Multisite dashboard.
Step 5: Add New Websites to Your Network
Now that your WordPress Multisite is active, you can start adding new websites:
1️⃣ Go to My Sites > Network Admin > Sites
2️⃣ Click Add New
3️⃣ Enter the site title, URL, and admin email
4️⃣ Click Add Site
💡 Pro Tip: Each new site can have its own unique design, plugins, and users!
Step 6: Manage Themes and Plugins for Your Network
📌 Install a Theme for All Sites:
Go to Network Admin > Themes
Click Add New and install a theme
Click Network Enable to make it available for all sites
📌 Install Plugins for All Sites:
Go to Network Admin > Plugins
Click Add New and install a plugin
Click Network Activate to enable it for all sites
💡 Pro Tip: Site admins can activate or deactivate plugins on their sites, depending on the network settings.
Step 7: Assign User Roles and Permissions
🔹 Super Admin – Full control over the entire network.
🔹 Site Admin – Controls a specific site but cannot change network settings.
🔹 Editor, Author, Contributor, Subscriber – Standard WordPress user roles.
💡 Pro Tip: Assign Super Admin access only to trusted users.
Step 8: Optimize Performance for Multisite
Since Multisite uses more resources, speed optimization is crucial.
✅ How to Speed Up WordPress Multisite:
✔ Use a Content Delivery Network (CDN) like Cloudflare
✔ Install a caching plugin like WP Rocket
✔ Optimize images with Smush or Imagify
✔ Choose a fast and lightweight theme
✔ Limit the number of active plugins
Frequently Asked Questions (FAQs)
🔹 Can I convert an existing WordPress site into Multisite?
Yes! You can enable Multisite on an existing site, but backup your website first to avoid data loss.
🔹 Can I use different domain names for each site in Multisite?
Yes! You can use domain mapping to assign unique domains to each site instead of subdomains or subdirectories.
🔹 Is WordPress Multisite suitable for eCommerce websites?
Yes, but WooCommerce stores in a Multisite network may require extra customization and resources.
🔹 Can I remove a site from my Multisite network?
Yes! Simply go to Network Admin > Sites, select the site, and click Delete.
Final Thoughts
WordPress Multisite is a powerful solution for managing multiple websites under one installation. Whether you're a business owner, blogger, or developer, setting up Multisite can save time, reduce costs, and improve efficiency.
🚀 Quick Summary:
✅ WordPress Multisite lets you run multiple sites from one dashboard.
✅ Choose between subdomains or subdirectories.
✅ Install and manage themes & plugins across all sites.
✅ Assign different user roles for better control.
✅ Optimize performance using CDN, caching, and image compression.
By following this guide, your FreelancerBridge website will be fully optimized for WordPress Multisite, helping you scale your online presence effectively.


 by Emily


